网络入侵检测 StratosphereLinuxIPS 部署过程
指导手册(英文): https://stratospherelinuxips.readthedocs.io/en/develop/
项目地址: https://github.com/stratosphereips/StratosphereLinuxIPS/
Gitee克隆地址: https://gitee.com/skyxingcheng/StratosphereLinuxIPS/
需要用到的文件zeek: https://pan.baidu.com/s/1Q-lGBm7J84nWcZJNfsHT5A 提取码:iua3
由于国内网络问题,最好下载此文件。(文件大小 336 MB)
实机部署
注意使用虚拟机时不要吝啬我这里分配16G内存和16核心CPU,内存低会导致zeek编译失败,核心少编译会很慢
克隆项目到本机
git clone https://gitee.com/skyxingcheng/StratosphereLinuxIPS.git
将zeek解压到同目录StratosphereLinuxIPS
tar -zvxf zeek.tar.gz -C /some/StratosphereLinuxIPS
开始安装软件包
apt-get update

apt-get -y install curl git redis python3.7-minimal python3-redis python3-pip python3-watchdog nodejs npm

python3 -m pip install --upgrade pip

pip3 install maxminddb colorama validators urllib3 numpy sklearn pandas certifi keras redis==3.4.1 slackclient stix2 cabby

pip3 install --ignore-installed six

pip3 install tensorflow

npm install blessed blessed-contrib redis async chalk strip-ansi@6.0.0 clipboardy fs sorted-array-async yargs
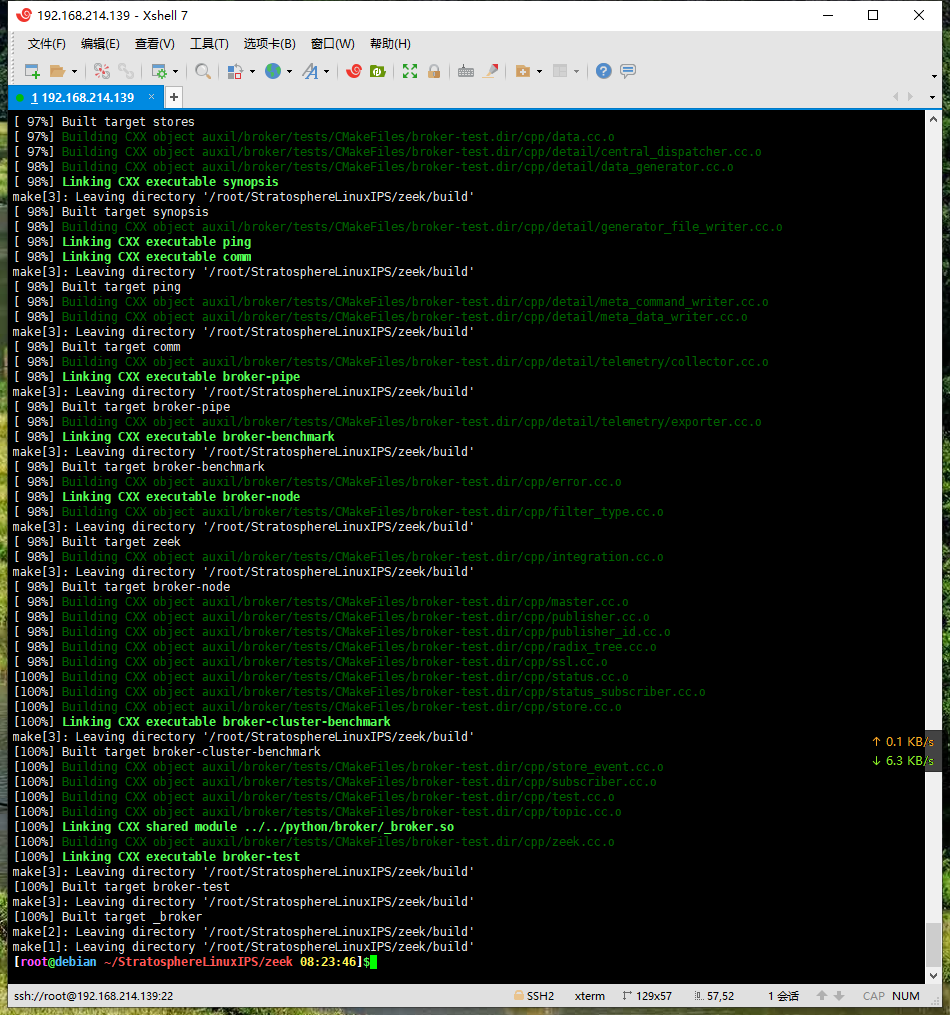
编译安装zeek (编译时没有出现错误,如果内存<=4G时编译报错请加大内存)
cd StratosphereLinuxIPS/zeek

apt-get -y install cmake make gcc g++ flex bison libpcap-dev libssl-dev python-dev swig zlib1g-dev

./configure

make -j16 #16线程模式

make install

ln --symbolic /usr/local/zeek/bin/zeek /usr/bin/zeek

export PATH=$PATH:/usr/local/zeek/bin

echo "export PATH=$PATH:/usr/local/zeek/bin" >> ~/.bashrc
启动Redis-server
redis-server --daemonize yes
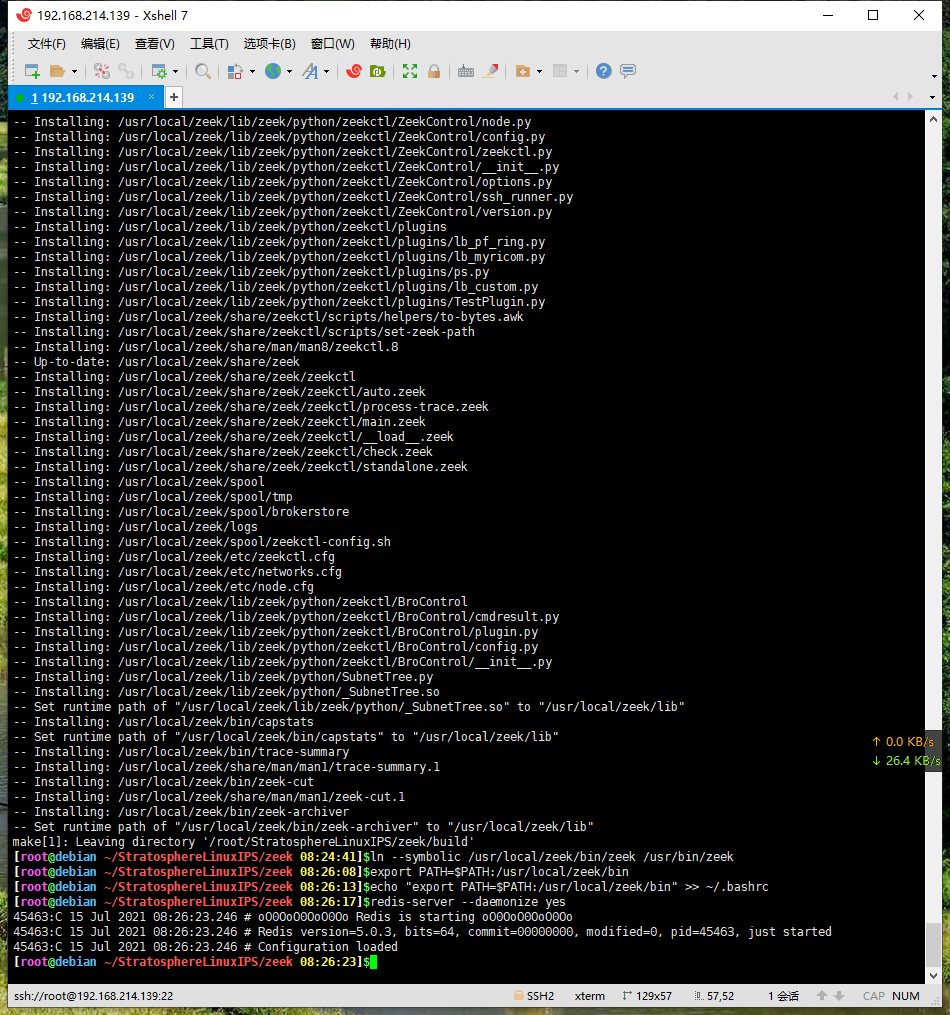
好了到这里安装基本就完成了
下面我们来修改配置文件
编辑文件StratosphereLinuxIPS/slips.conf

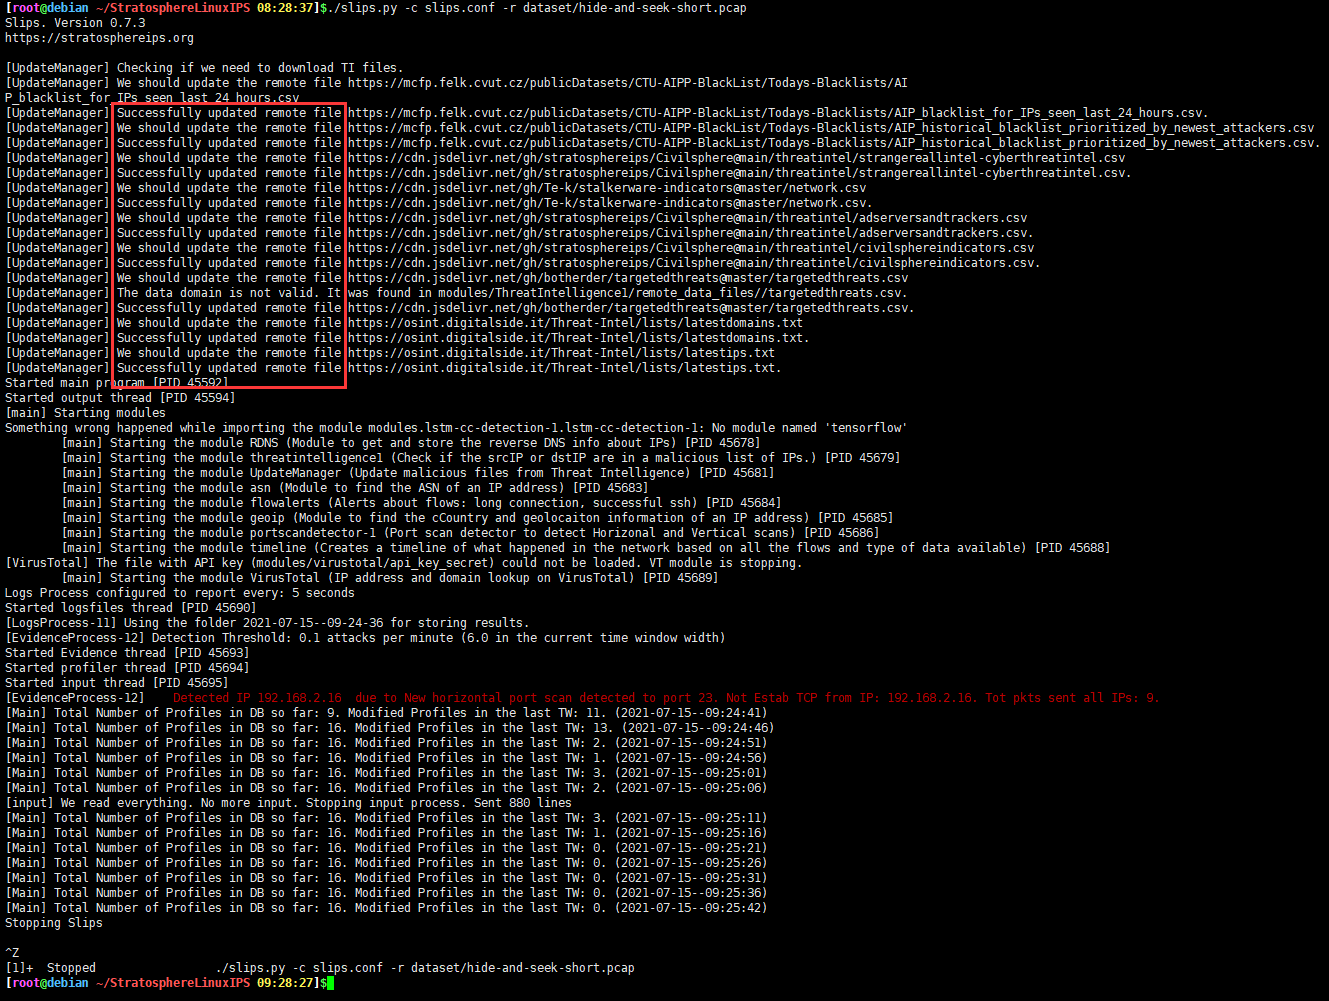
修改ti_files为如下(主要是替换掉了raw.githubuserconnect.com域名的文件,如果你的网络良好可无需替换)
ti_files = https://mcfp.felk.cvut.cz/publicDatasets/CTU-AIPP-BlackList/Todays-Blacklists/AIP_blacklist_for_IPs_seen_last_24_hours.csv, https://mcfp.felk.cvut.cz/publicDatasets/CTU-AIPP-BlackList/Todays-Blacklists/AIP_historical_blacklist_prioritized_by_newest_attackers.csv, https://cdn.jsdelivr.net/gh/stratosphereips/Civilsphere@main/threatintel/strangereallintel-cyberthreatintel.csv, https://cdn.jsdelivr.net/gh/Te-k/stalkerware-indicators@master/network.csv, https://cdn.jsdelivr.net/gh/stratosphereips/Civilsphere@main/threatintel/adserversandtrackers.csv, https://cdn.jsdelivr.net/gh/stratosphereips/Civilsphere@main/threatintel/civilsphereindicators.csv, https://cdn.jsdelivr.net/gh/botherder/targetedthreats@master/targetedthreats.csv,https://osint.digitalside.it/Threat-Intel/lists/latestdomains.txt, https://osint.digitalside.it/Threat-Intel/lists/latestips.txt
然后我们来运行一个示例更新本地文件
cd StratosphereLinuxIPS/
chmod +x slips.py
./slips.py -c slips.conf -r dataset/hide-and-seek-short.pcap
由于上游源Nodejs版本过低,需要更新,请自行检查是否需要更新(你的Node版本不应低于12)
node --version
curl -sL https://deb.nodesource.com/setup_12.x | sudo -E bash -
apt-get -y install nodejs
现在我们开始网卡监听,同时启动图形界面(-G)
若仅监听在另一页面启动图形界面可开始监听后执行./kalipso.sh
./slips.py -c slips.conf -i ens33 -G
我们用了一下后台扫描,过一小段时间可以看到控制台已经有输出了
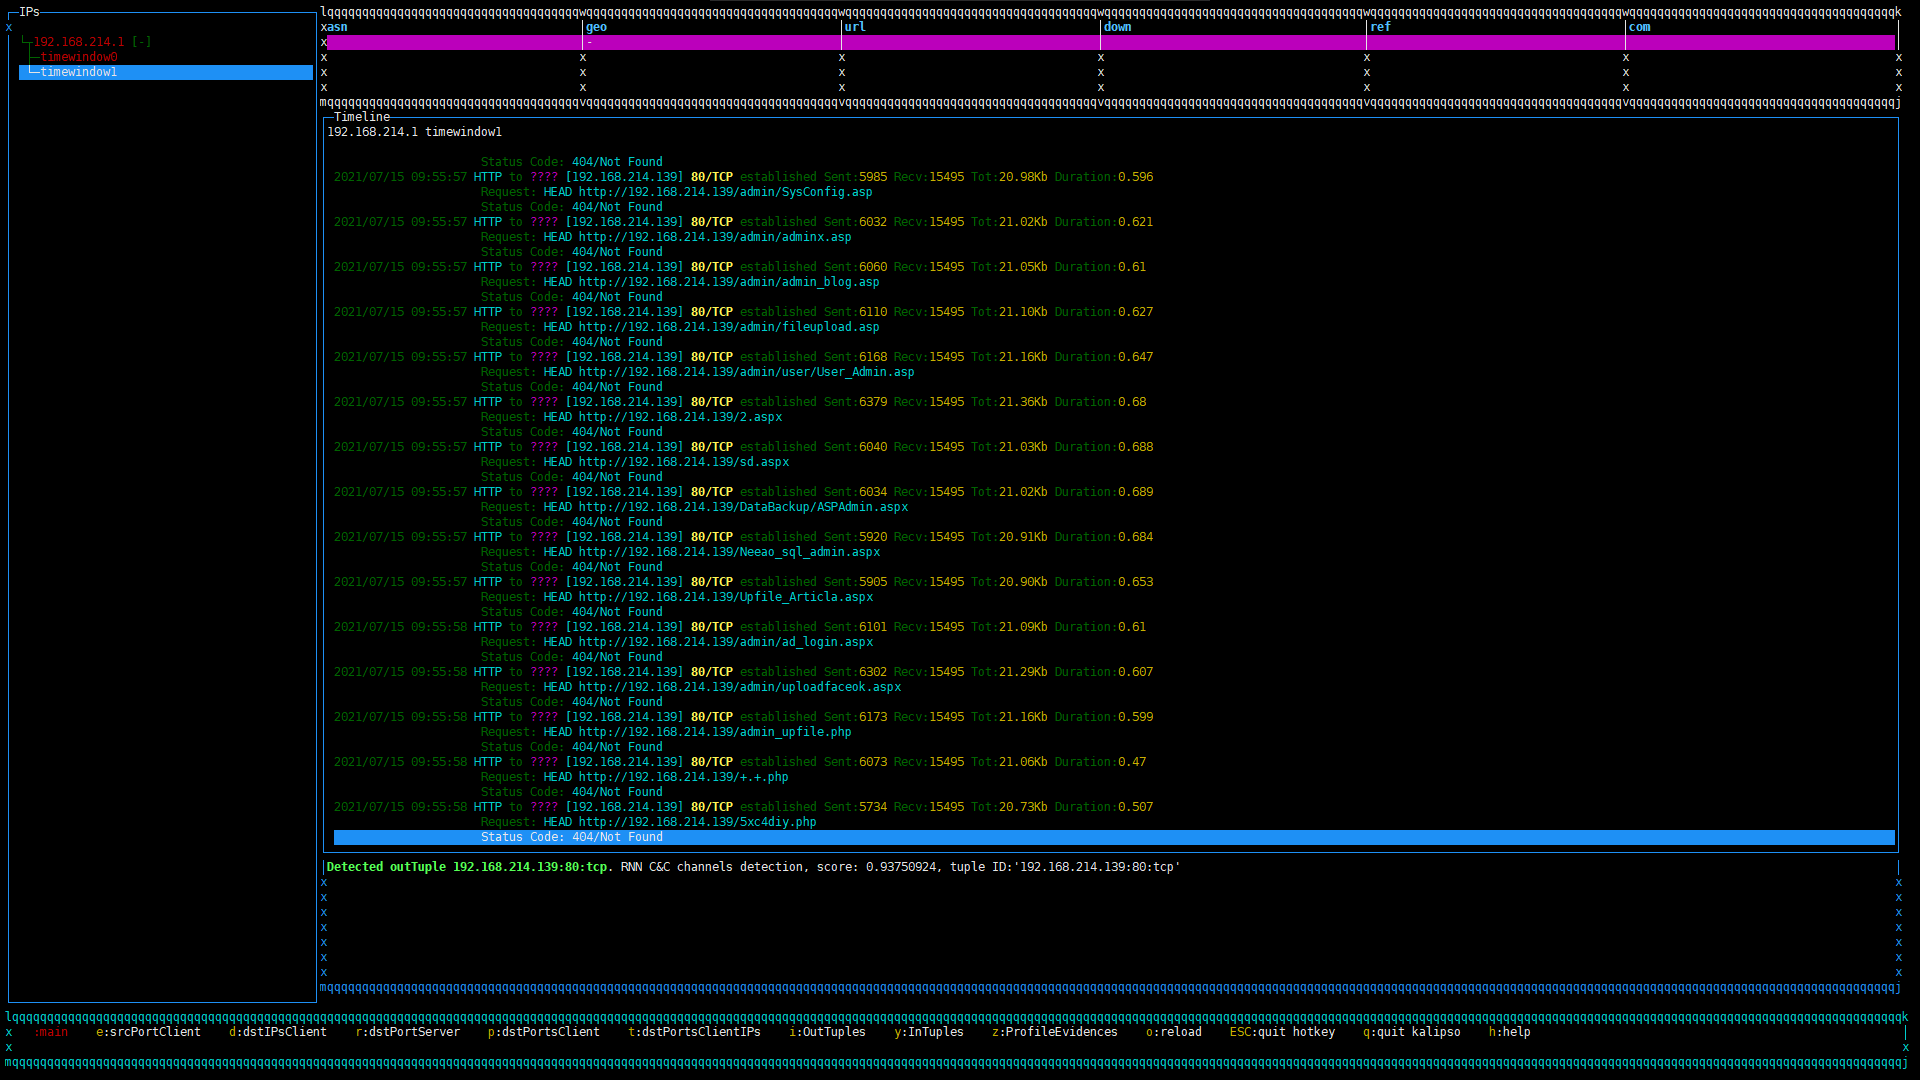
我们用kail进行端口扫描(等待时间有点长)可以看到已经检测出扫描端口的操作
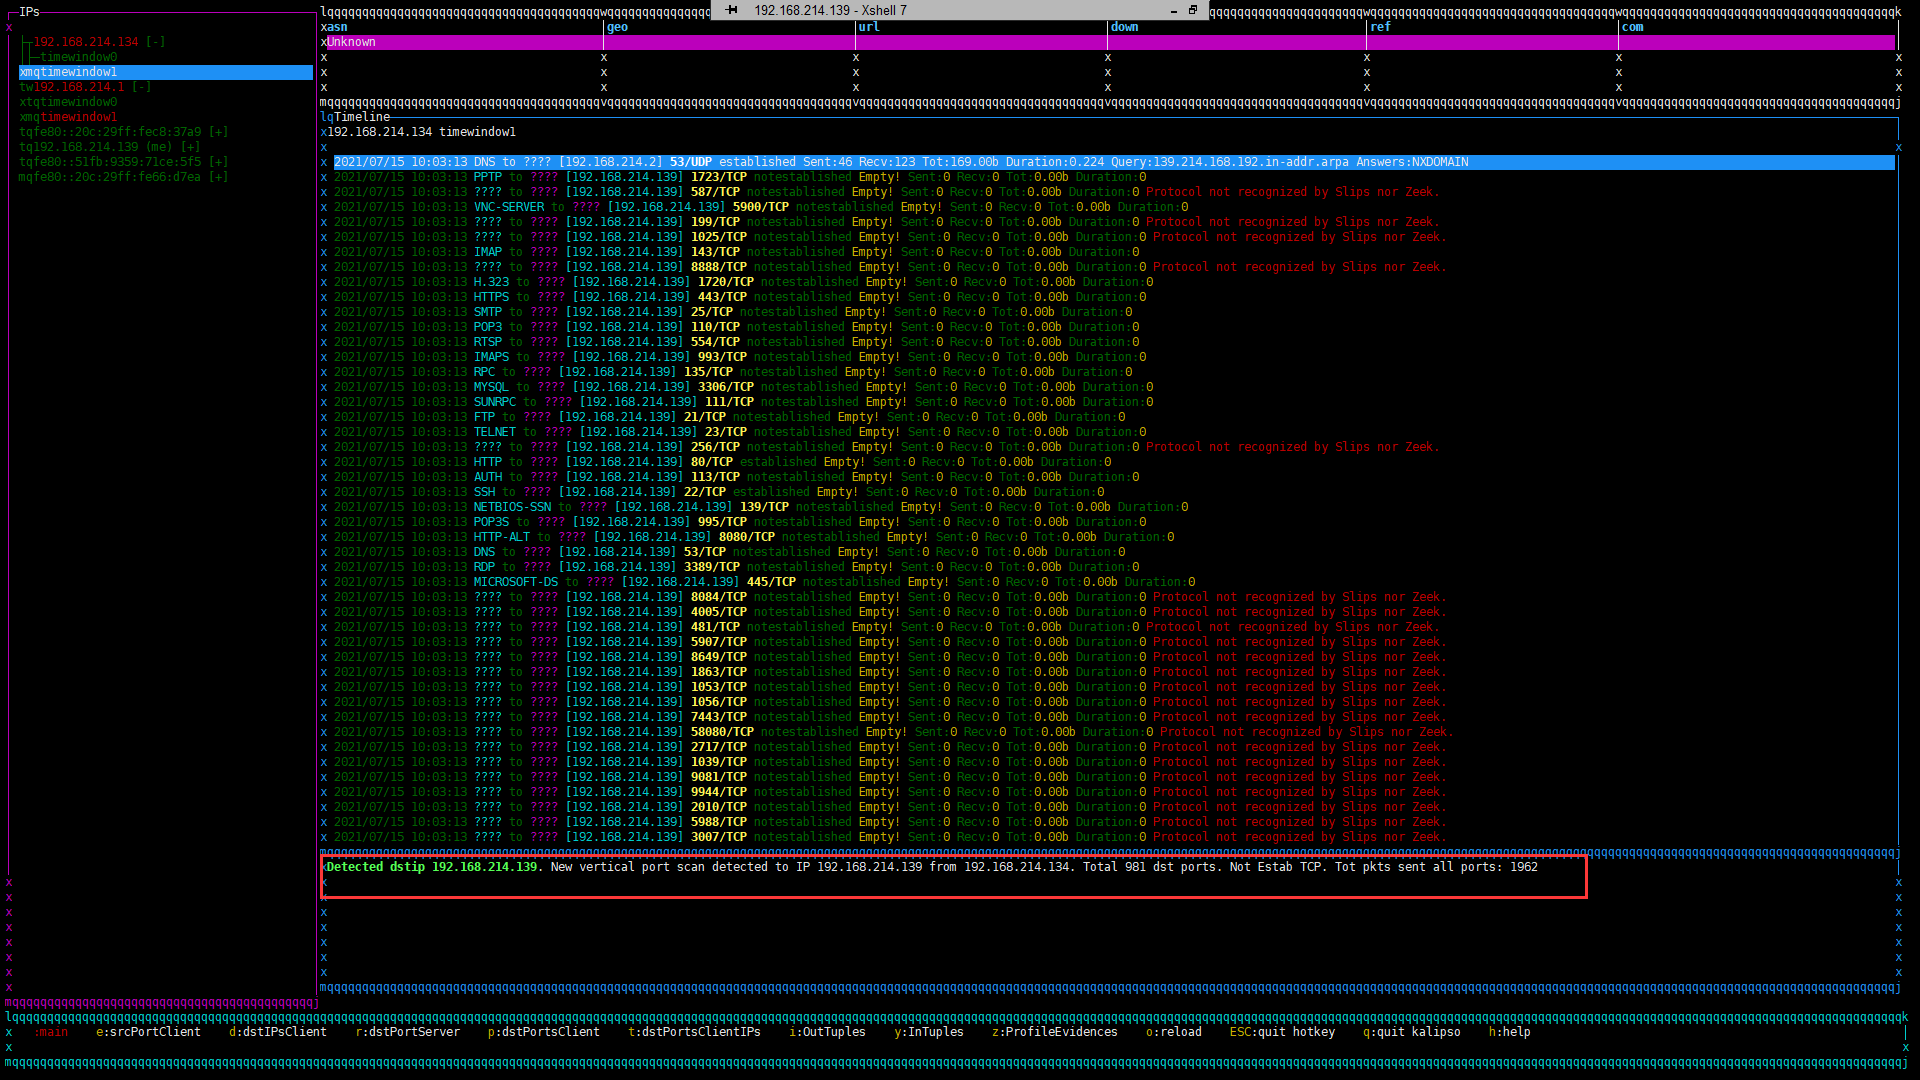
注:如果你的控制台界面出现乱码,则可能是由于nodejs版本问题,建议更换为文中的nodejs12
本文使用的是网易163源Debian10-Buster
玩的开心:)
Q.E.D.


